The world of cloth diapering encompasses positive (fun) and negative (not so fun) tasks. On one hand, cloth diapering families get to shop around for cute diaper covers and learn all there is to know about the various options available, but on the other hand, cloth diapering families actually have to deal with the *sometimes* gross aftermath:

We currently own two "Little-to-Big Beetle Organic Wool Diaper Covers" (thanks to Grammi). These are two of the best covers in our stash. Worth the money and worth the serious hassle of cleaning them, these are natural fiber, breathable, absorbent, and adjustable covers. Not only are they super soft, they actually can absorb about 30% of their weight in well, lets just say it, baby waste. We use all kinds of covers, but I often worry about Dalia's little tushy not getting enough air, especially in the summer. And you thought wool was only for the winter? No way. It is the perfect hot-day cloth cover option.
To top it off, once they are washed and lanolized (more on this later) you don't have to wash them for a month, unless there the baby does a numero dos and it gets on the cover. If there is a small spot, simply spot clean!
We thought this would be a perfect opportunity to highlight one of the not so pleasant aspects of cloth diapering, washing. And wool does require a LOT of extra care. So those of you who want convenience, these are not the covers for you!
Get your materials ready:

1. Eucalan Wool Wash (You can't use a standard wool wash from the grocery store, it can really damage the absorbency of these covers. You need a natural, no rinse wool soap.)
2. 100% pure lanolin (Lansinoh brand is good, but any pure lanolin will be just fine)
3. 100% pure olive oil bar soap (this is for spot cleaning, we use "Kind")
4. Basin for soaking and a towel for drying
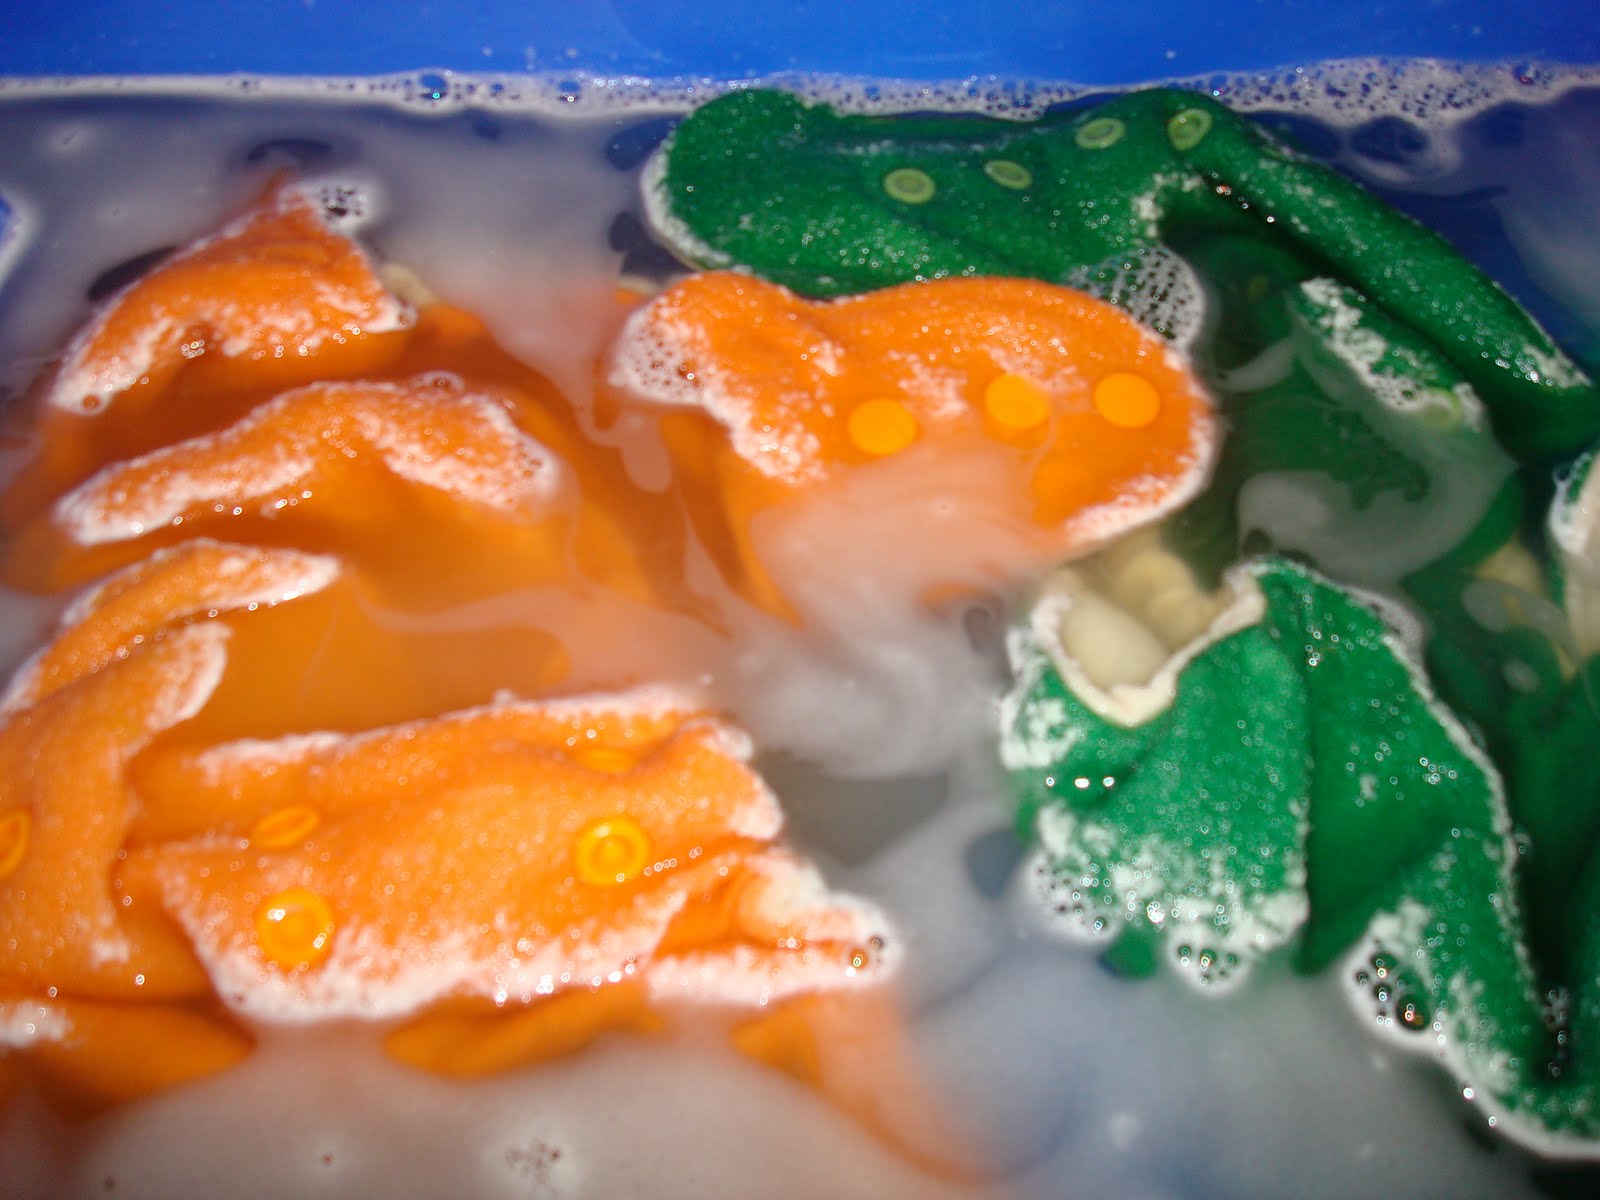
Step 1: remove any solid waste from cover using your preferred method

Step 2: use tepid water and the olive oil bar soap to spot clean heavily soiled areas, carefully use your thumbs in and up and out motion to work the soap into the area (do not ever coarsely rub the sides of the diaper together-it can damage the interlocking fibers that make it a quality cover)

Step 3: fill a basin with tepid water (water that is too warm or too cold will actually shrink your cover-you will have wasted nearly $40!)

Step 4: put some water in a glass and then add about 1 inch of lanolin, put this in the microwave for about 15 seconds or until the lanolin dissolves

Step 5: add this to the basin (you only have to lanolize every other washing-Eucalan uses a lanolin-enriched formula that helps maintain waterproofability between lanolizations)
Step 6: add the Eucalan to the basin (about a tablespoon will do for a couple diapers)

Step 7: soak diapers until you think they are done (this is about 15-20 minutes for me)
Step 8: remove the diaper covers one at a time and gently squeeze, then place on towel and roll with some pressure to get excess water out, lay flat to try (probably 24 hours)

It seems like a lot of work, and it is. Cloth diapering is a world unto itself, but it doesn't have to be so difficult-it is so easy once you get the hang of it!
Don't let wool scare you from puttin' the cloth nappies on your baby's bottom!
No comments:
Post a Comment